
5v5 · Formation guide
The 2-2
Two partnerships. One team that stays connected.
An illustrated guide to the starting shape, four playing principles and a role for every player.
Chapter 1
Starting shape
The box is only a starting picture. Partners can swap jobs and every player has permission to find space.
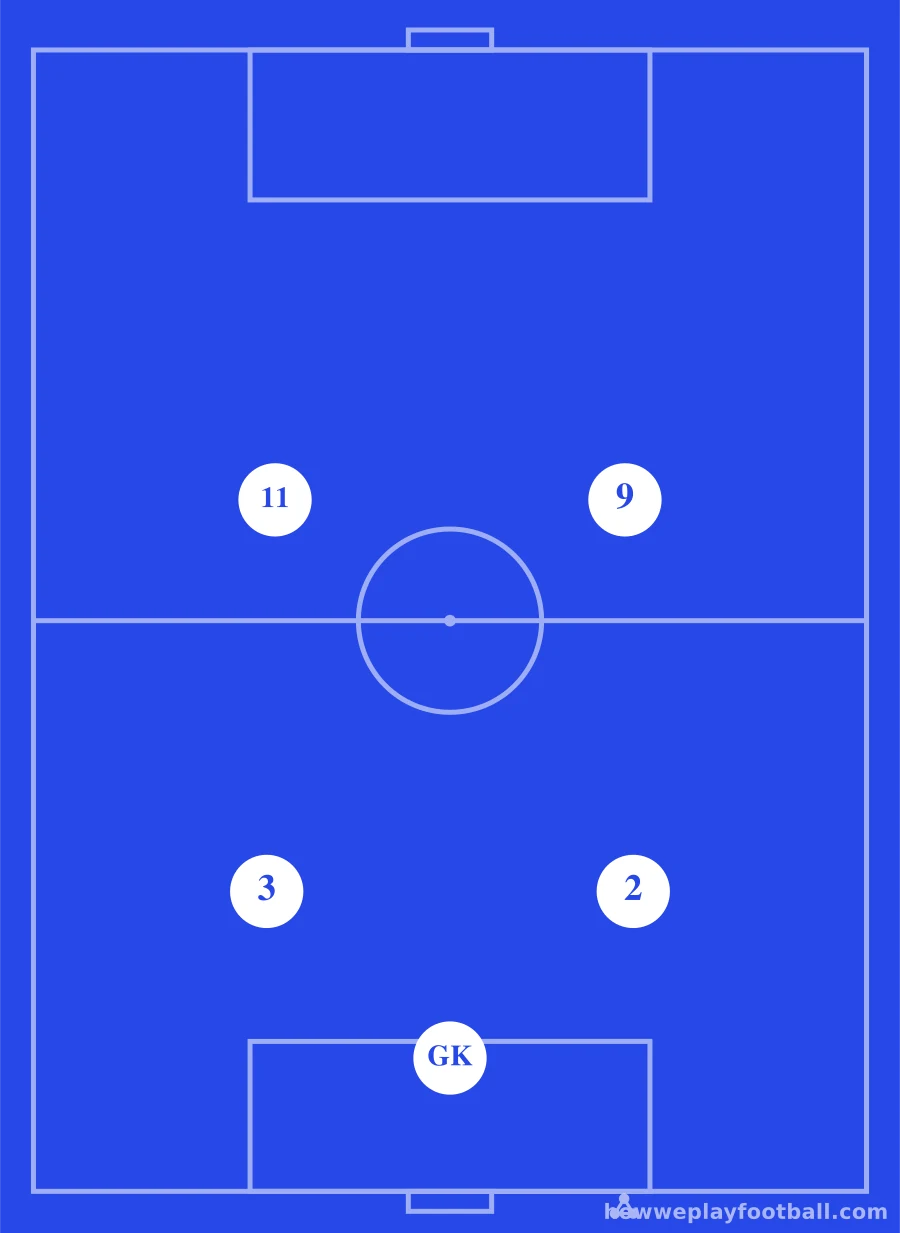
This shape gives us
- a defender partnership
- two forward options
- simple opportunities for short combinations
- clear pressing and covering decisions
Our spine runs through the middle: Goalkeeper and the centre between the two pairs.
- Notation
- 1-2-2 including goalkeeper · 2-2 outfield
- Goalkeeper
- 1
- Outfield players
- 4
Chapter 2
Four playing principles
Four choices to notice and practise in games.
- Play in pairs
Stay close enough to combine but not so close you crowd one another.
“Where is my partner?” - One presses, one covers
One can meet the ball; the other protects the space towards goal.
“If one goes, where is the other?” - One comes, one goes
If one attacker comes towards the ball, the other can move away.
“Who comes? Who goes?” - Close the gap
When the ball moves, the back pair and front pair travel with it.
“Are we too far apart?”
The Coaching Notes
Enjoying this guide? Get the next one.
New formation guides and practical coaching ideas, straight to your inbox. Free and occasional.
Chapter 3
A job for every player
A starting responsibility, with the freedom to learn another.
Chapter 4
Playing together
How the team supports one another in possession and after the ball is lost.
A quick reminder for the touchline. Choose a principle or partnership to explore the full coaching detail.
With the ball
Without the ball
The playbook
Printable 2-2 playbook
The printable guide isn't released yet.
More features for this formation, such as restarts and matchday guidance, will be added only once they've been written and reviewed.